How to Add a Z-Wave Device to the Concord 4 Panel
- Hold the Z-Wave button on the cellular daughter-board until the LED labelled L2 flashes with a 4-blink pattern.
- Trigger the Z-Wave device following the steps for each individual device. Common examples are listed below these steps. Click here to jump to these examples.
- When successfully paired, the Concord 4 keypad beeps and the L2 LED is lit solid for 1 minute.


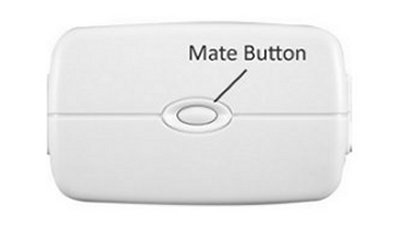
GE Jasco Light Appliance Module
Double click the Mate/Learn button.

Qolsys IQ Siren
Press the button on the bottom of the siren.

GE Jasco Wall Dimmer Light Switch
Turn light switch on and off.
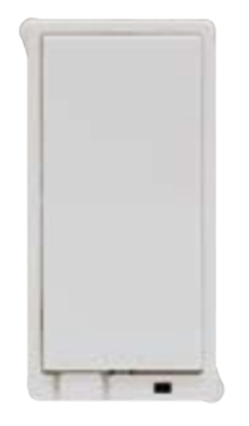
GE Jasco Wall AC Outlet
Double click button in middle of outlet.

Schlage Lever Lock or Deadbolt
1. Enter 6-digit programming code provided in documentation from Schlage.
2. Press Schlage logo or button, press 0, then wait 2 minutes to learn.

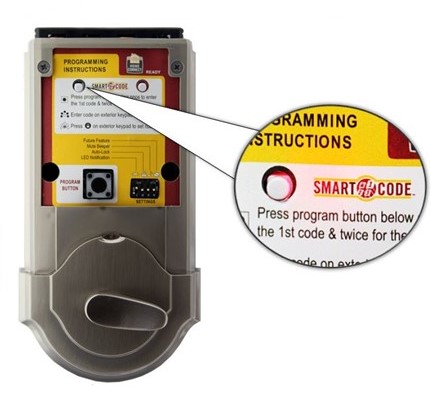
Kwikset Deadbolt
Open battery cover, press left SmartCode button, then wait 2 minutes to learn.

Yale Touchscreen Deadbolt:
- Touch the screen with the back of your hand or fingers to activate the lock.
- Enter the 8-digit master PIN code, then press the gear icon. The lock should play a happy tone.
- Press 7, then press the gear icon again, and another happy tone will sound.
- Press 1, then press the gear icon, triggering a third happy tone and exit.

2GIG GoControl TBZ-48
1. Hold Fan button for 5 seconds until Setup appears onscreen, then press the up arrow until Z-Wave displays.


2. Press Mode, then press Mode again to learn.


3. If successful, press Fan to exit. The antenna icon appears by the temperature display.


Alarm.com ADC-T2000 Thermostat
1. Press Mode to display temperature, then Mode until heat/cool icons disappear.

2. Hold Down Arrow until the radio wave icon appears below the temperature display.

Alarm.com ADC-T3000 Thermostat
1. Press Menu to display the menu, then press the down arrow until Settings is displayed.


2. Press Enter, then press the down arrow until Network is displayed.


3. Press Enter, then press the up or down arrows to highlight Add.


4. Press Enter to select and start Z-Wave learn mode.


5. Learning may take up to 1 minute to complete and exit.

Honeywell T6 Thermostat

1. Press Menu, press the right arrow to Z-Wave Setup, then press Select.

2. Press Select at the Include screen to learn.

Honeywell 8320Z1000 Thermostat

1. Press System then hold the bottom buttons together until the screen changes.


2. Press the arrow buttons until rF20 displays onscreen, then press the arrow buttons to change 0 to 1.


3. Thermostat enters Z-Wave enrollment. When finished, press Done to exit.


Radio Thermostat CT-20 and GE Thermostat
Pull top cover toward you to remove, then press Mate button to learn.

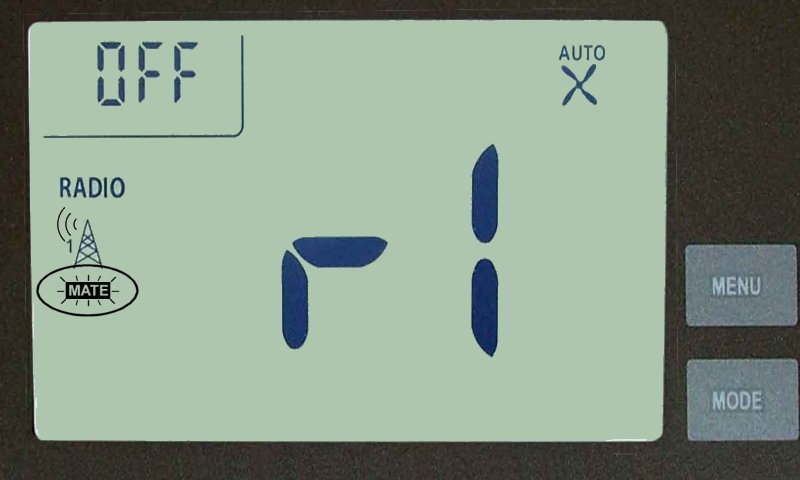
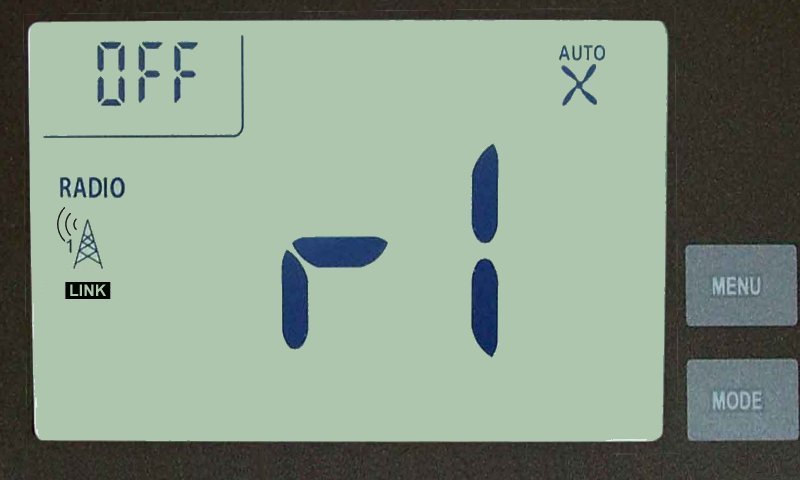
Radio Thermostat CT30, CT100, CT101

1. On the thermostat, press Menu. The screen will display r1 and Mate appears under the antenna icon.

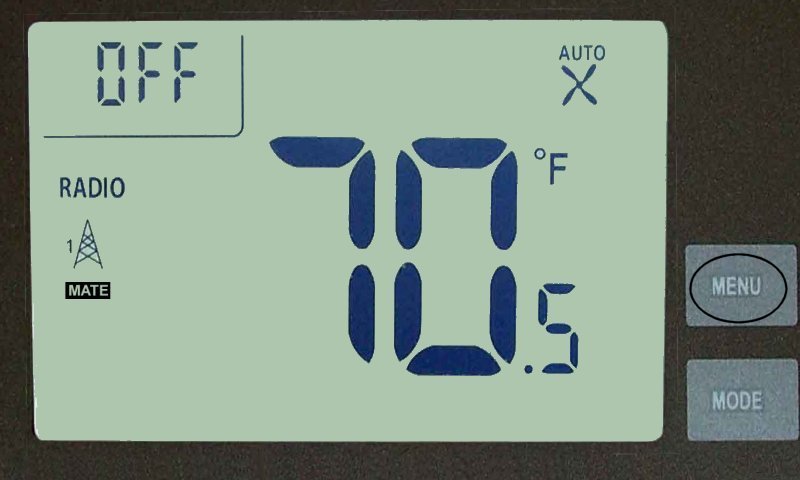
2. Press Mate, which begins flashing. If successful, Link appears, then press Menu to exit.
Radio Thermostat CT110
Press the left side antenna button.

Trane TZ43/TZ45 Thermostat

1. Press Menu, scroll down to ZWave Install, then press Select.


2. Scroll up to select Yes, which starts Z-Wave enrollment.


3. If successful, display exits to main menu. Press Done to exit.
