Getting Started with Your IQ Panel 2
The below video demonstrates how to perform basic functions on the IQ Panel 2.
Specifications
- • 7” HD touchscreen with 1280x800 resolution
- • Single 3-color LED status
- • Internal Siren Piezo SPL minimum 85dB for UL985
- • Built-in 5MP camera
- • LTE & Wi-Fi dual-path connectivity
- • PowerG with 4x the range of traditional wireless
- • Mount backplate wall mount or table-top (stand included)
- • Lithium polymer 3200mAh battery
- • Internal storage 8GB NAND flash & SD card slot push for 1 Micro SD
- • Panel tamper switch with spring release and reporting to status app
- • Temperature operational -10 to 50 C

Features
- • Next-generation connectivity that is fast, reliable, and future proof
- • Intuitive swipe/scroll/touch-based user interface
- • S-Line encrypted 319.5 sensors for secure connectivity
- • Built-in router for secure private network
- • Bluetooth disarming that lets you leave your phone in your pocket when you arrive home
- • 5MP panel camera will capture disarm photos that can be sent to your phone or watch
- • The panel turns into a customizable photo frame when not in use
- • Built-in glassbreak detector
- • Dual-path connectivity for improved latency, flexibility, redundancy, updates
- • Control Z-Wave plus lights, locks, thermostats, and garage openers
- • Built-in microphones and speakers allow you to talk directly to your monitoring station agent from the panel (where available)
Wi-Fi Setup
1. Swipe down from the time display to show drop-down, then press Settings.


2. Press Advanced Settings, then enter the master code.


3. Press Wi-Fi then check the right-side box to enable.


4. Press the WPS push button, then press Connect.


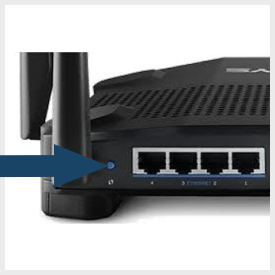
5. Press the router WPS button or enable WPS mode in router settings.


6. When the display shows Connected, press the back arrow or home button to exit.
