ADC-V720 Outdoor Camera Guide
This camera is discontinued but can still be added and viewed on Alarm.com account
Specifications
- 1280 x 800p video resolution
- 40' night vision range
- Field of view 77° Horizontal 54° Vertical
- Ethernet connection only no WiFi
- Supports POE Power Over Ethernet
- Operating Temperature -4 ° F to 122° F

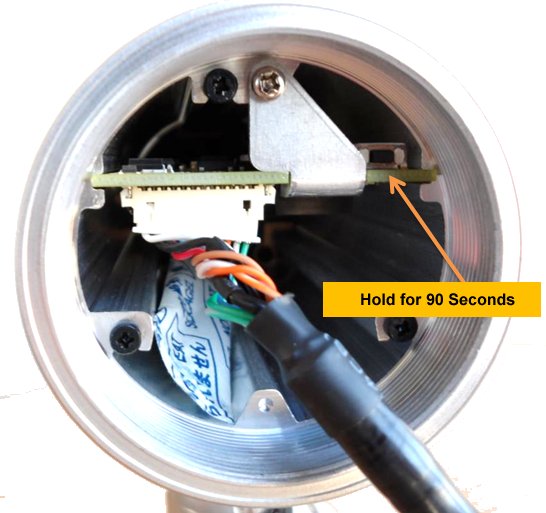
Factory Default
1. Remove wiring cover and rubber insert then carefully unscrew back of camera
2. Hold reset button for 15 seconds until LED flashes red
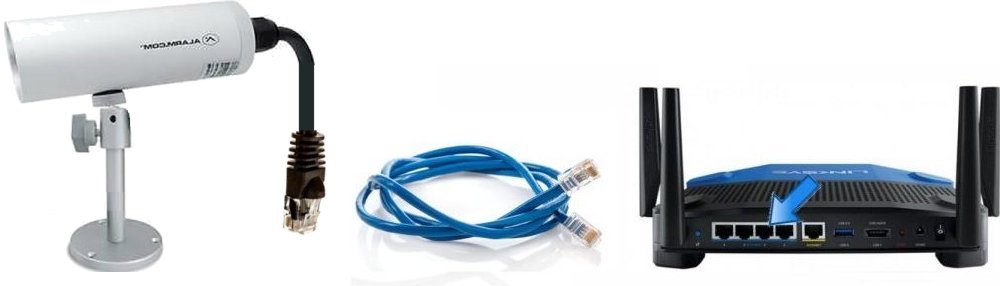
Hardwire Connection to Router
Connect Ethernet cable from camera to unused port on network router
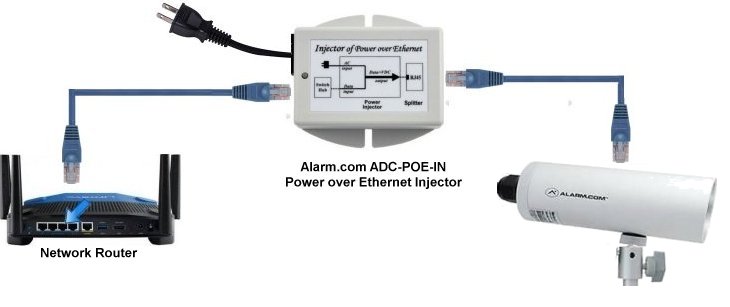
Power over Ethernet Connection to Router
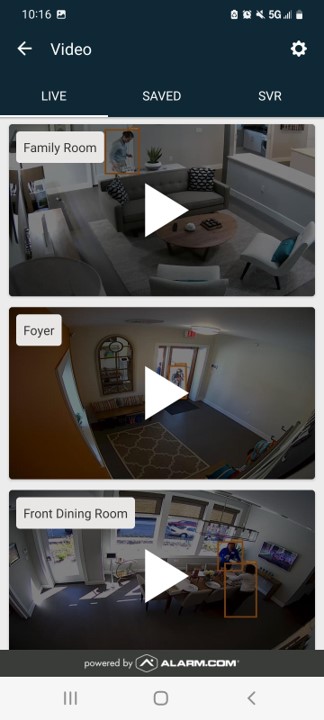
Add Camera using the Brinks Home™ App Website
Note: the camera must first be connected to Wi-Fi.
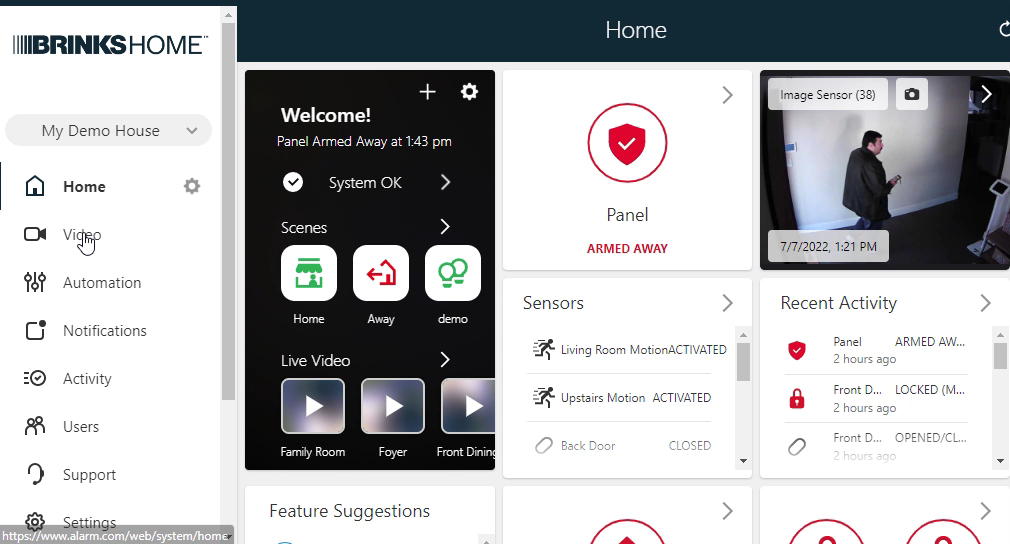
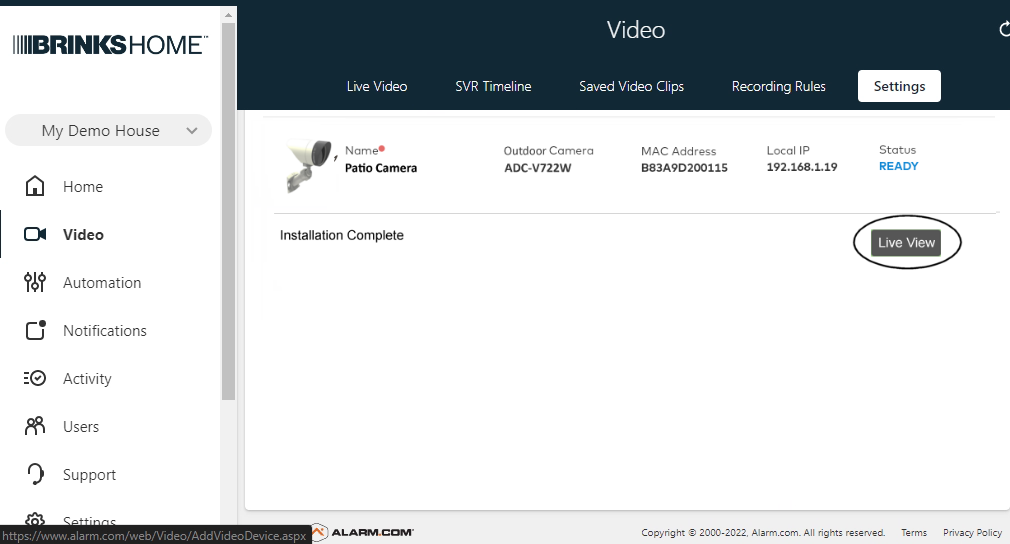
1. Log in to the Brinks Home App on a desktop browser and press Video.
2. Select Settings.
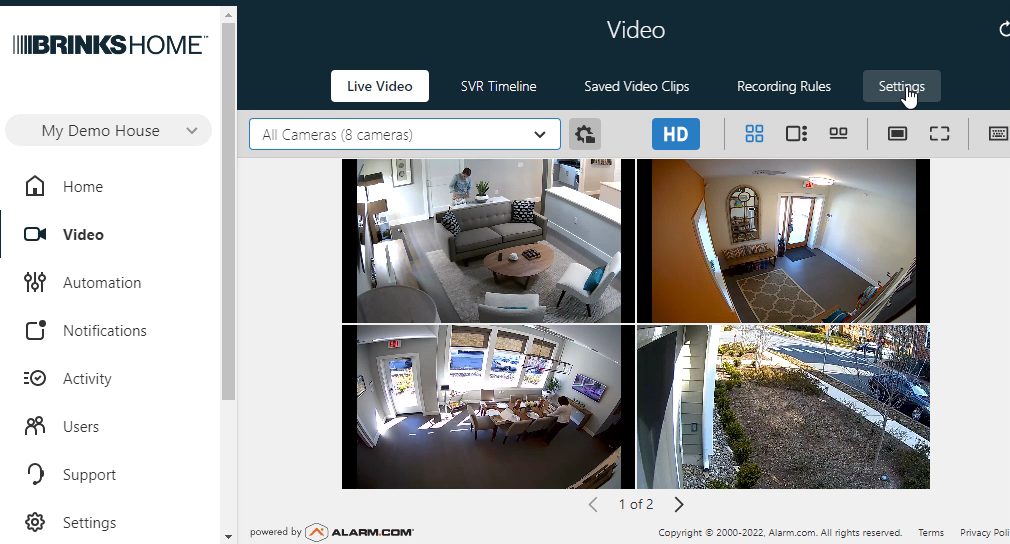
3. Scroll to the bottom of the page and select Add video device.

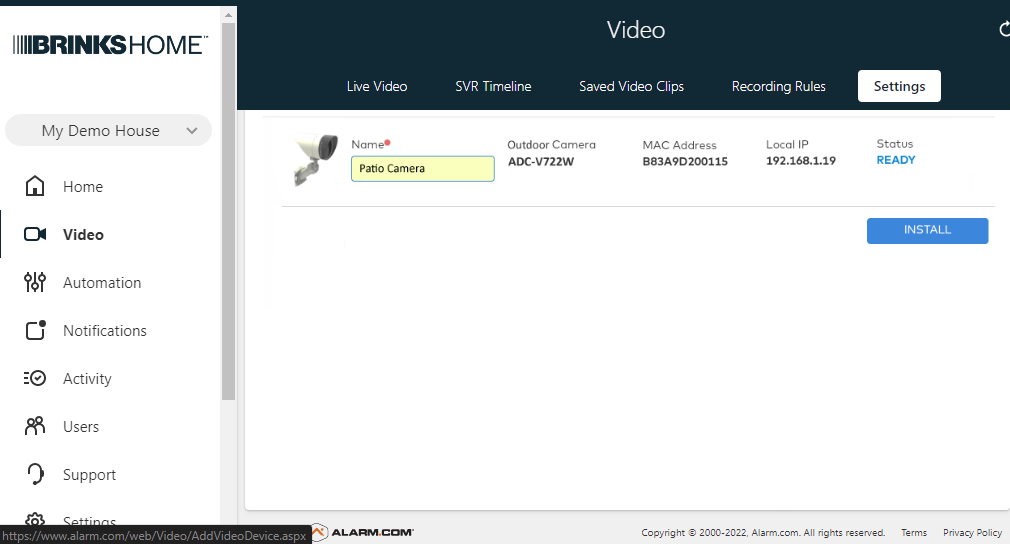
4. The camera should be detected. Enter the camera name, then select Install.
5. The camera is added to the network, which can take several minutes.
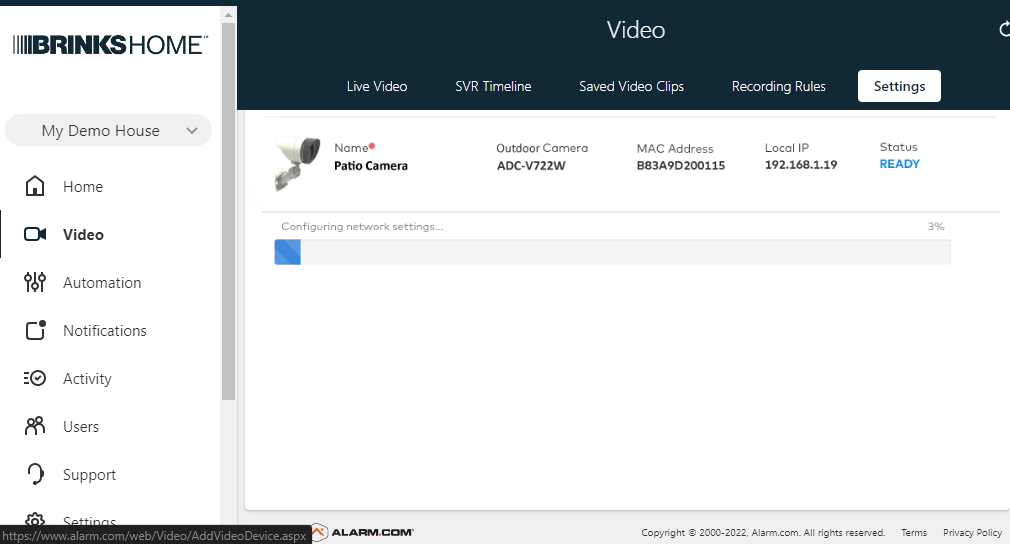
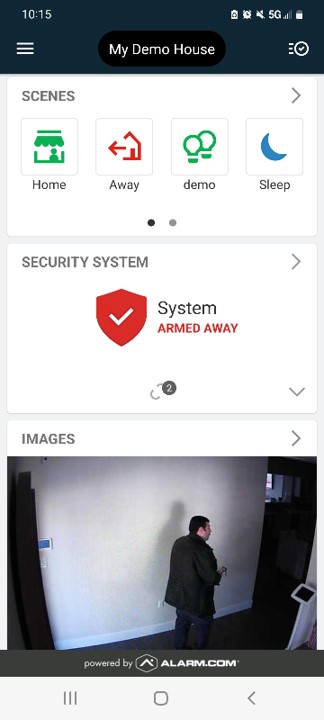
6. When finished, select Live View to view images from a newly installed camera.
Add Camera using the Brinks Home™ Mobile App
Note: The camera must first be connected to Wi-Fi.
1. Log in to the Brinks Home Mobile App and press Video (found under the menu icon in the top left corner.
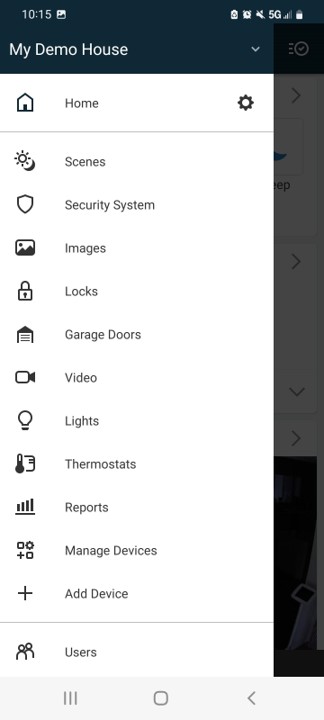
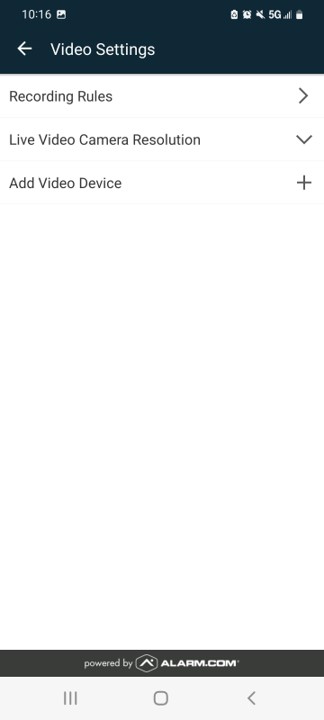
2. Select Settings by pressing the Gear icon in the upper, right-hand corner.

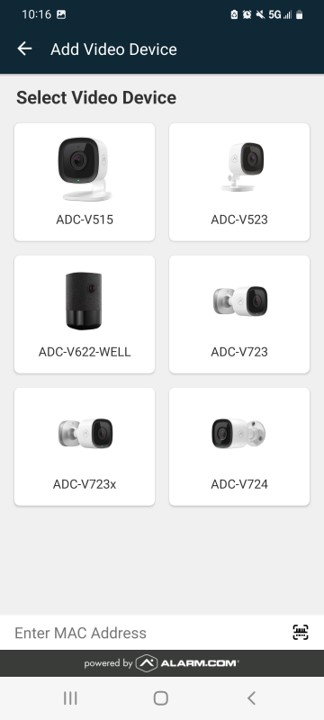
3. Select Add video device, then select your compatible device type.
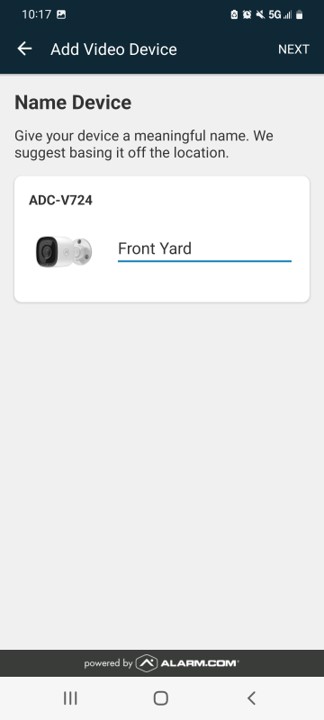
4. The camera should be detected. Enter the camera name, then select Next.
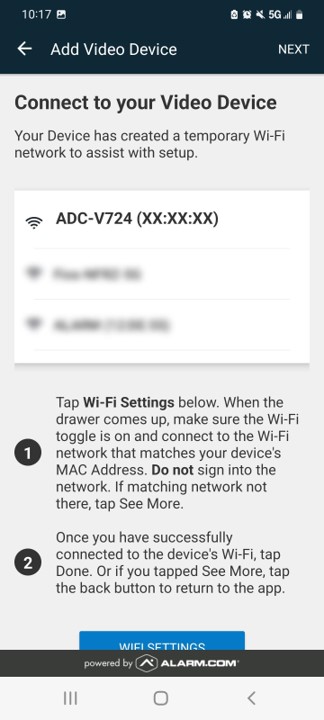
5. The camera may take several minutes to configure.

6. When finished, select Live View to view images from a newly installed camera.