How to Program the Honeywell 5816 to the GC2 Panel
This brief instructional video demonstrates how to successfully program a door/window sensor to the 2GIG GC2 panel.
Step-by-Step Instructions:
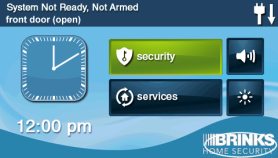
- To program a door/window contact into a security zone, you will first need to access the Installer Toolbox. Press the logo on your panel screen, and input the default installer code 1561 or 1171.
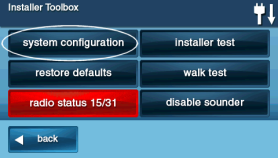
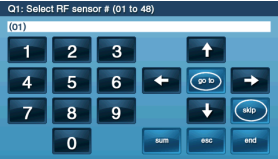
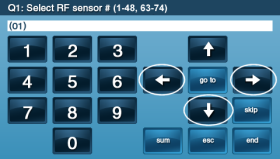
- From the installer toolbox, press System Configuration. You will see Q1: Select RF sensor # (01 to 48, 63-74) in the banner at the top of the screen. Use the right arrow or type in your desired zone number for this sensor.
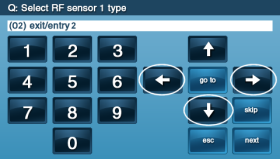
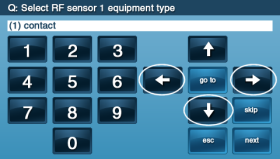
- Press the down arrow, then press the right arrow to select the type of sensor you are programming.
- Note: When you arm your panel, (01) sets an entry/exit delay of 30 seconds, and (02) sets an entry/exit delay of 45 seconds. (01) and (02) should be used for doors. (03) Perimeter should be used if the sensor is set to a window.
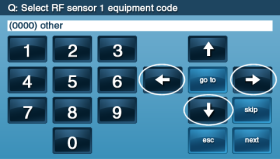
- Press the down arrow, then press the right arrow to select the equipment code (0637) HW D/W 5816.
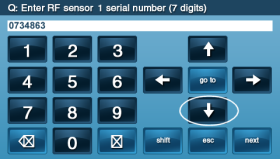
- Press the down arrow, then type in the 7-digit serial number (TXID number) from the box or on the sensor on the sensor.
- Note: If you choose to add wirelessly without entering the serial number, ensure the battery pull tab is removed and that the sensor is in a closed state. Press shift on the panel, then press learn. Open the sensor by opening your door or window, then return it to a closed state. Your panel will display your sensor's information if it was recognized. You can press ok to continue.
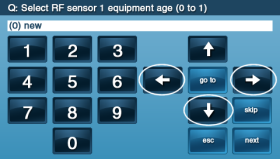
- Press the down arrow, then select the equipment age. Assuming this is a new contact sensor, leave it as the (0) default.
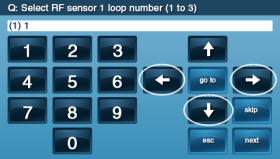
- Press the down arrow, then select the loop number.
- • Use (1) for converting a hardwired door sensor into wireless. This will require connecting one end of the wire lead into the transmitter and the other end into a Normally Closed (NC) device.
- • Use (2) for a normal wireless sensor and magnet pairing.
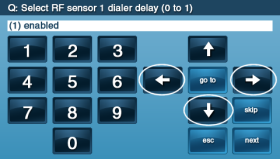
- Press the down arrow, then choose whether or not you wish to enable a dialer delay. A dialer delay helps to prevent false alarms.
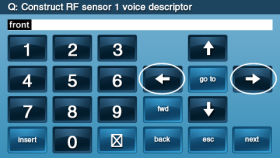
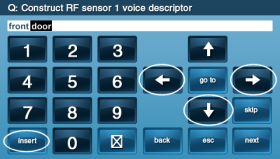
- Press the down arrow, then to add voice descriptors, press the right arrow to your desired setting. You may use insert to repeat and add descriptors.
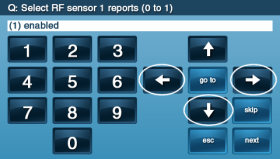
- Press the down arrow, then use the right arrow to choose if you would like to enable or disable sending reports to the central monitoring station.
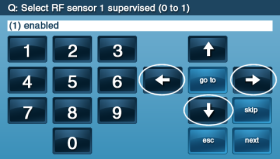
- Press the down arrow, then use the right arrow to choose if you would like to enable or disable the panel from monitoring supervisory signals. This can help in identifying errors with your sensors.
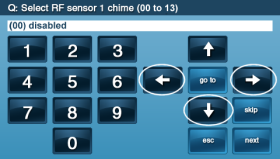
- Press the down arrow, and use the right arrow to choose your desired chime.
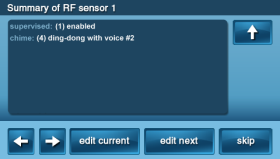
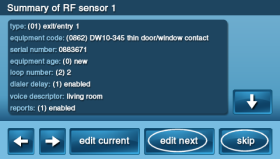
- Press the down arrow to proceed to review your selections on the summary page.
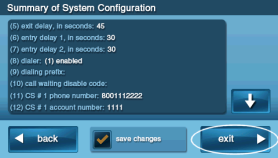
- Press edit current to make any changes; otherwise, to save your entries, press skip, then press end, and finally press exit.
